Sometimes a colour is just a colour…
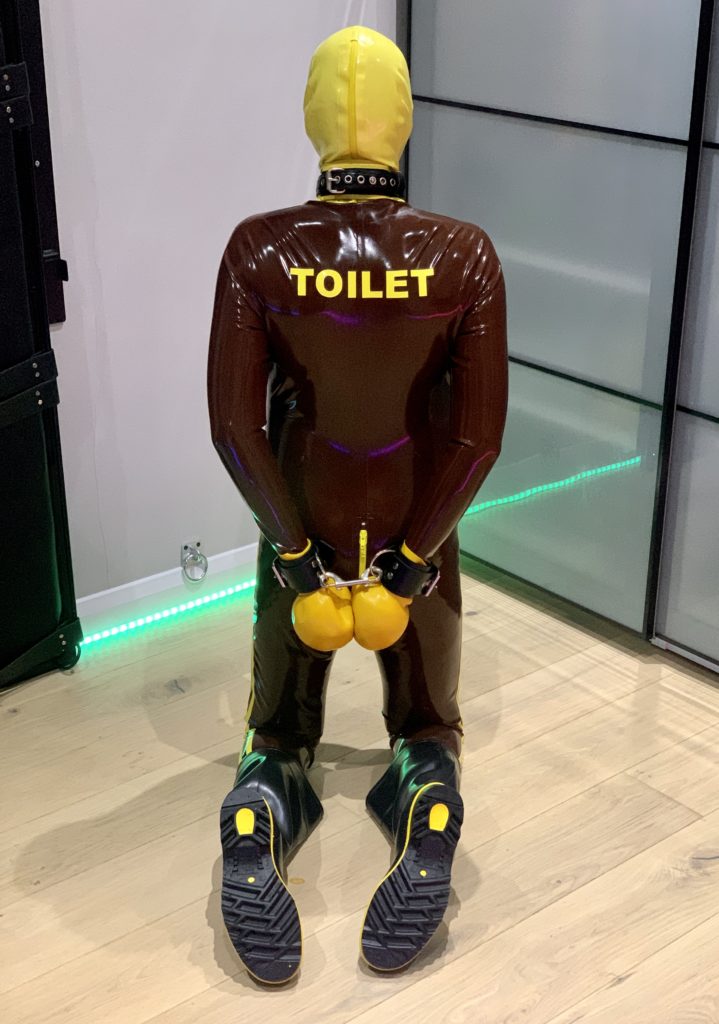
I know it’s perhaps not been everyone’s thing but I do enjoy occasionally letting out my rubber doll side. I’ve had huge inspiration and help particularly from Miss Velour in developing my persona; which incidentally has really helped me understand my enby-ness in “normal” life. Kink really can be life affirming.
As I now have my outfit complete I thought I would drop some of my favourite dolly pictures here.
Featured are:



Are you a lucky drone with an MSA Millennium? Want to convert it to twin inlet ports for a better aesthetic? Load the following program:
Obtain the following MSA parts:
The links above take you to a US retailer. If you are outside the US you will need to use a service like Stackry to mail forward but the costs aren’t particularly high.
You will also need a circlip plier (bent pliers) to undo the blanking plug, although you might be able to get away with two screwdrivers.
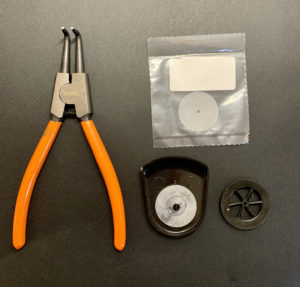
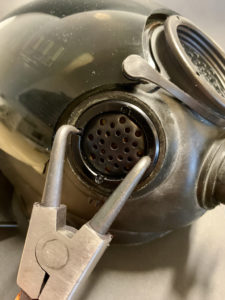
First step is to remove the retaining ring and the blanking plug underneath the ring:
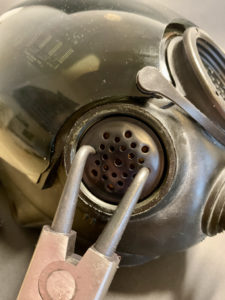
You can now fit the new valve body by push-fitting from the outside:
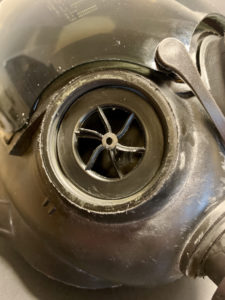
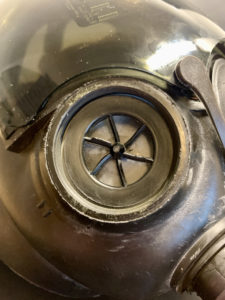
The deflector assembly now locates on the centre hole of the valve body, from the inside (make sure the valve disc is on first). You can look at the existing one on the other side to get the right orientation.
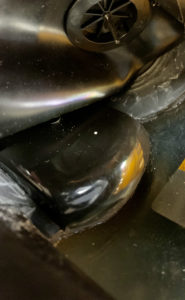
There are plenty of guides for this on the internet, although most focus on the two-sided process, and I was also given some great advice on Twitter but wanted to document things as an aide-memoire and I hope it helps you too.
I don’t own that many pieces of chlorinated latex, but they have their use! Chlorinating the latex reduces the “stickiness” but at the expense of reducing the lovely smell, making it feel thicker/more brittle and reducing the shine.
So, chlorinated latex is easier to put on, but doesn’t look as good – the solution, only chlorinate the inside surface!
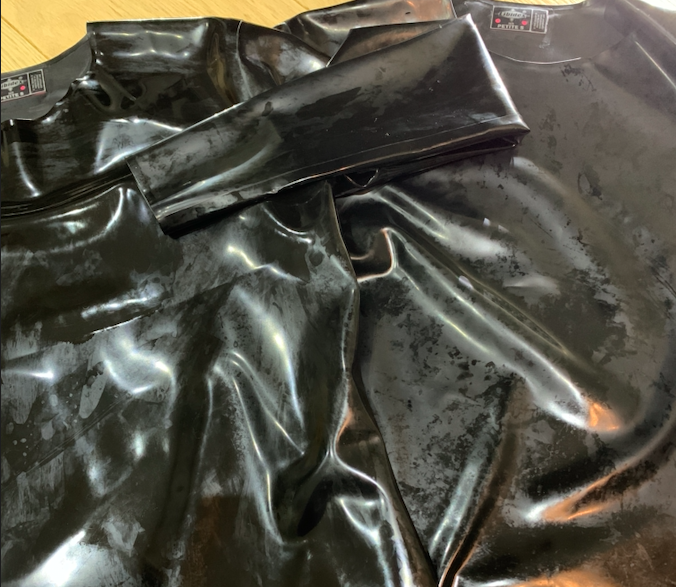
CAUTION: chlorine is produced in the process which is seriously harmful to your eyes and lungs and you must wear suitable protection in a well ventilated space.
You will need:
Process:
The following is for a full catsuit, halve the quantities if you are just doing a single T shirt.
If you are single-side chlorinating, hopefully the silicone oil will have formed a barrier and prevented the reaction from occurring and you are left with a slippy inner surface but lovely and shiny outer one. Win win!
A very quick write up which is more a bill of materials than a how-to, as it’s that easy!
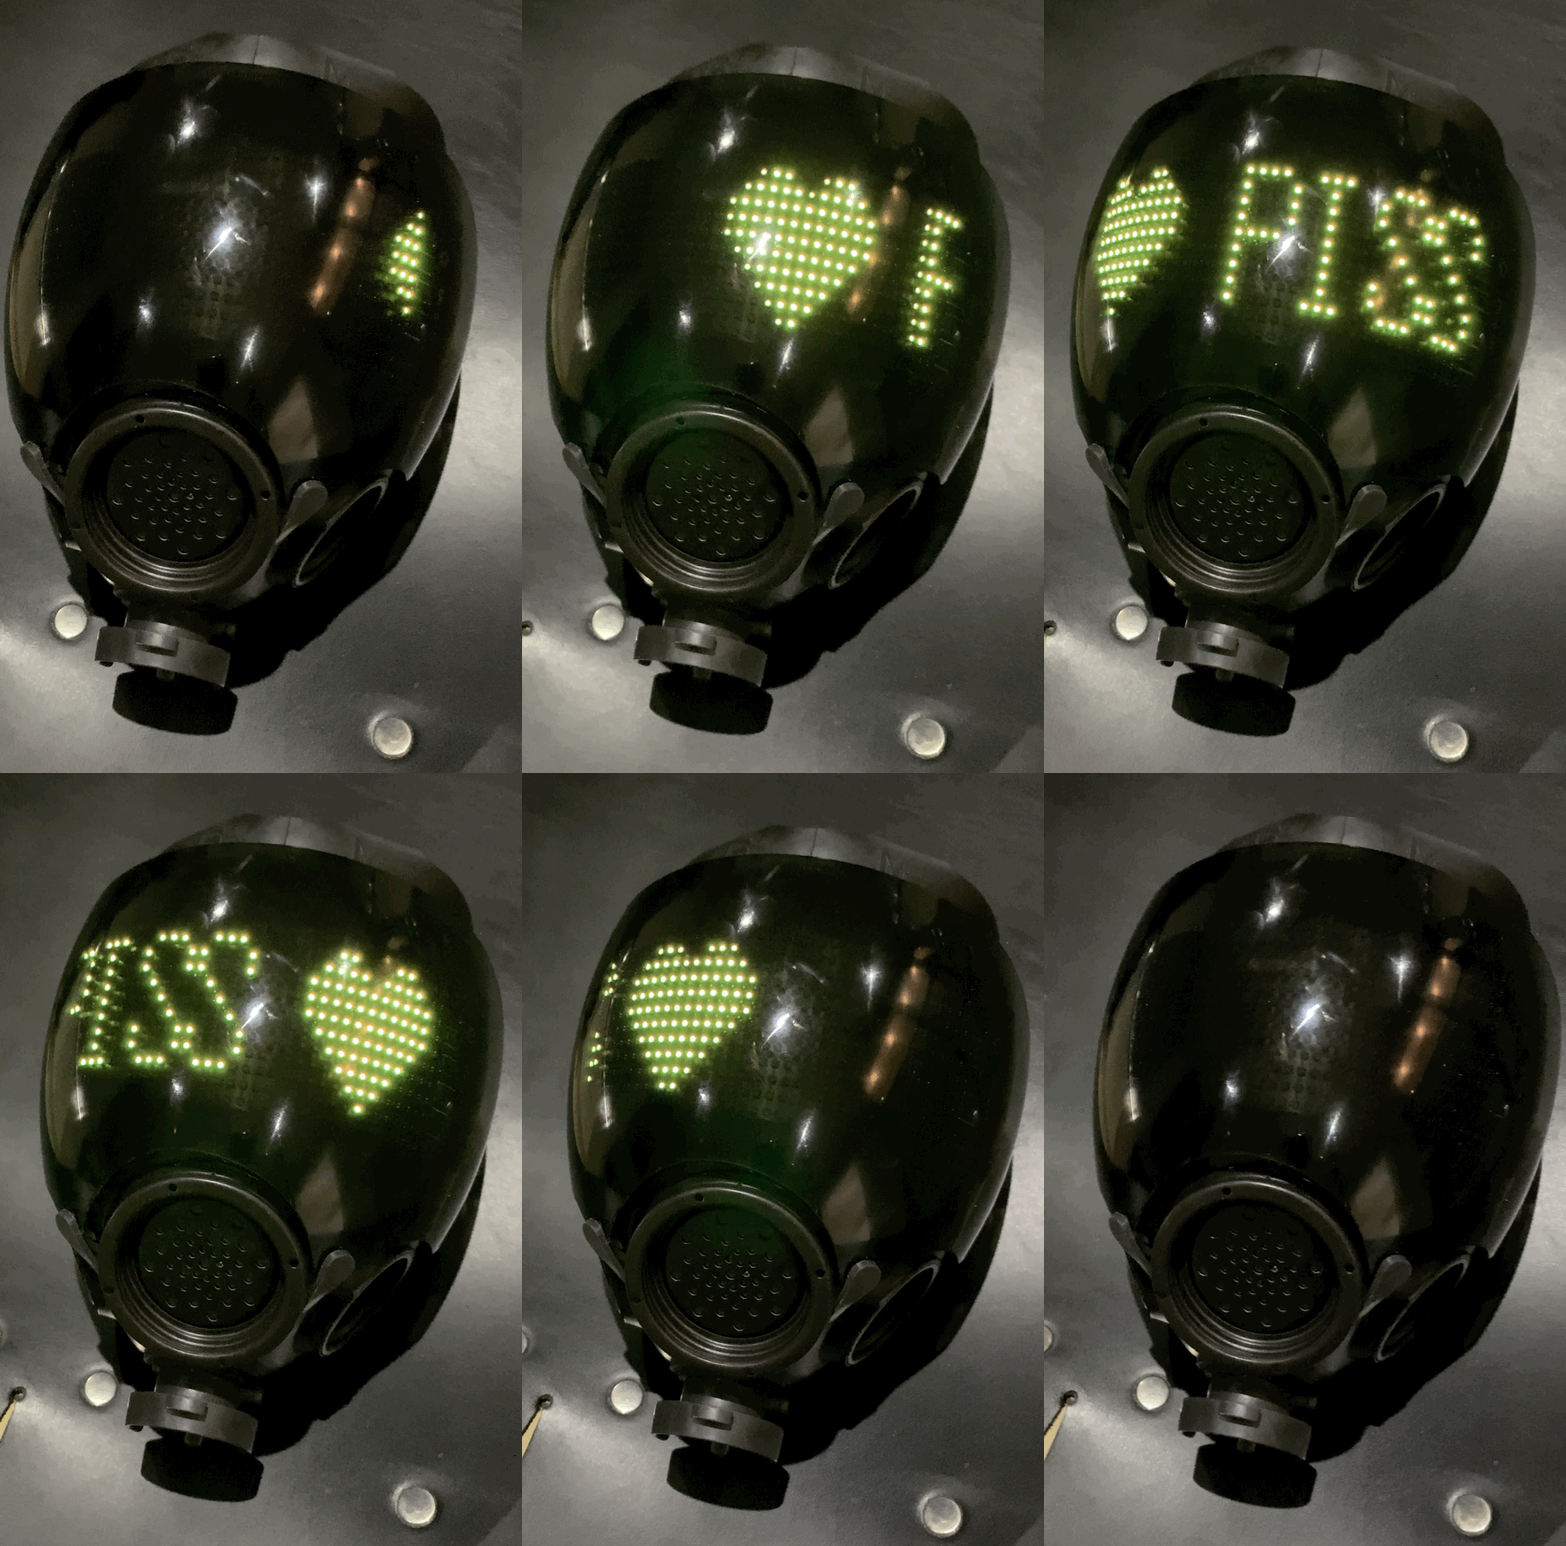
The basis of this is an LED face mask as this includes a flexible LED matrix and a companion mobile app to add text and patterns etc.
The one I bought was described on ebay as “LED Programmable Face Mask Light Up Rechargeable Face Cover Facial Protector” – there are lots of similar ones, make sure you try and get this type (App version not button). The companion mobile app is called “Shining Glasses” (there is a pair of sunglasses in a similar style which may work in a pinch but are more expensive).
Once you have your thing, just cut it out of the fabric face mask with scissors.
The MSA has a tinted outsert which I use to simply trap the LED matrix. No gluing, everything is reversible with some velcro wire wraps.

What I decided to do was cut off the connectors between LEDs and battery so I could extend them and then thread these longer, black, wires through to the back of my MSA mask, so some soldering and heat shrink required. You could probably clip the pack onto the head harness straps if you wanted to and avoid the soldering.

In the end I took the battery pack out of its little case and fitted it into the pull-on loop on the back of the MSA’s head harness for neatness. You can still get at the button / charge port easily.

That’s it!
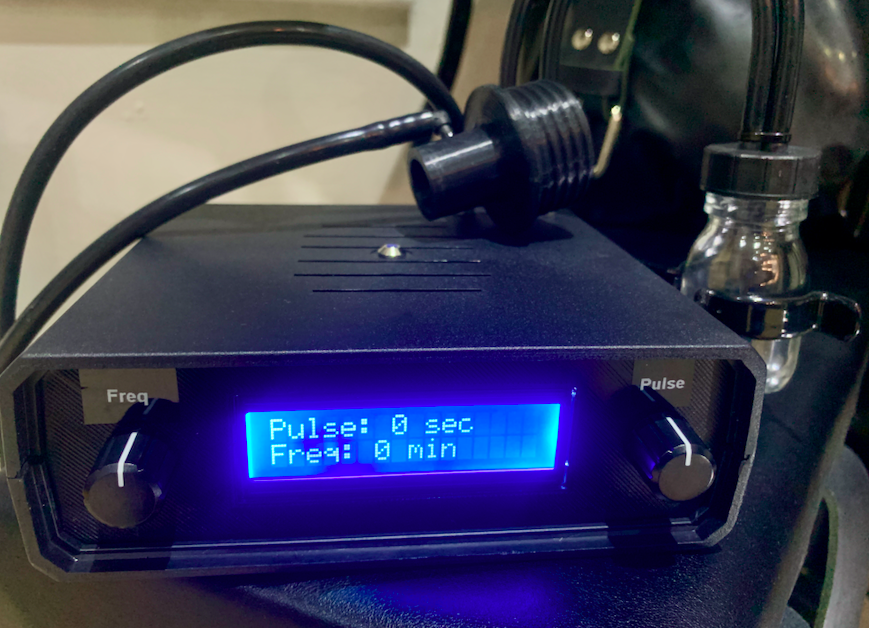
Despite looking like a vintage car radio, this has been an interest of mine in building for a while but with the 3D printer I’ve finally been able finish it.
I know I’ve often given more detailed kink DIY instructions (like for the Fuck Face) but this is one device that’s properly dangerous so I’m going to give a vague overview only. If you know what you’re doing you’ll be able to figure out the rest, but I will not be responsible for my crappy code at least :)
Here’s the mode of operation:
Parts list:
As far as the code logic goes:
This machine is extremely dangerous and must never be used solo.
I should prefix this with: does it matter?
But perhaps sometimes I need to explain what I am, although maybe it’s more about understanding myself than anything. I was asked recently “what do I go by?” and I really struggled to find an answer.
One of my greatest kink inspirations (kink-spirations?) is Cam Damage and Reflective Desire and seeing them for the first time awakened something in me. It’s perfectly ok to want to be an anonymous rubber drone some of the time, and at others, a debauched piss-whore, or a fuzzy-toppy-muscle-boy, or whatever else mood I’m in.
When I was a teenager, I found other boys was where I had my main attraction (although I did have a girlfriend) but could never do anything about it until I was older. I was also clearly, looking back, an utter pervert (searching in newsgroups, yes, I am that old, for ‘alt.sex.watersports’ expecting to find cute guys in wetsuits and finding something else entirely, which wasn’t a turn off).
Later in life I thought ‘bi’ was a more appropriate label, but realistically my attraction there was really only to kink I think: a pivotal moment was being in a grope box at Torture Garden and having many totally unknown hands touch every part of me was… mind blowing.
These days, if we want or need to label, I would describe myself as a pan sexual enby. I have a long term male partner but enjoy playing with boys, girls, trans guys and girls, non-binaries, and gender fluid folks. The more the merrier as far as I’m concerned, just as long as it’s kinky.
So what do you call me? Just Loki is fine.
This is a new one for me, but using a 3D printer to conjure new pervertables out of thin air is extremely enjoyable.
I’m going to add a couple of links and files here but this may end up growing over time I as I think it opens up whole new opportunities for fun!
I have a pair of original flash lenses with some foamboard inserts for complete blackout, but I find they’re extremely tricky to get on during a scene – you end up squishing the poor sub’s face!
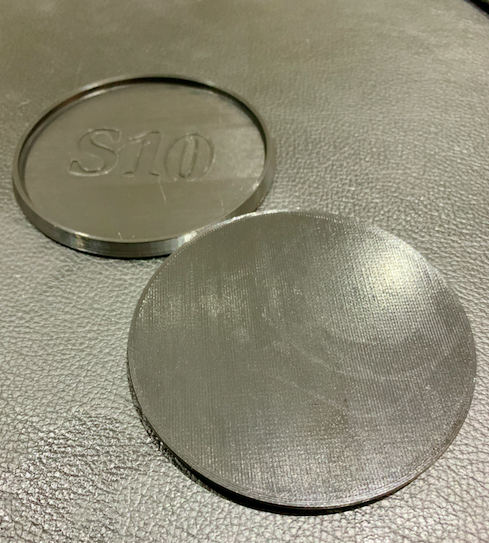
So these are great, they click on from the outside but don’t need a huge amount of force to do so and are a lot cheaper to print than buying original parts. I didn’t need to modify them at all, just print away.
https://www.thingiverse.com/thing:1736850
This is an adjustable inlet valve – obviously not something to use on your own. I’ve seen a few of these for sale that set you back like £20. I took a design and modified it so that it’s a lot easier to use with slippery or gloved hands, and doesn’t need any supports adding for printing.
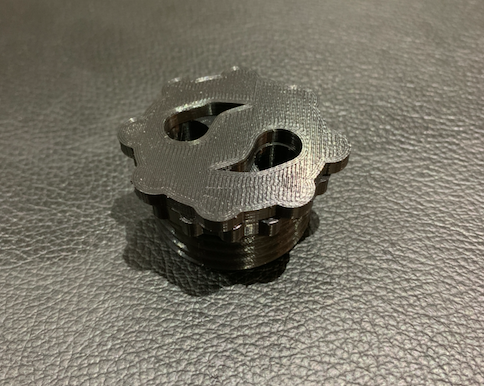
It’s printed in two parts, the main body and then the inlet portion. They just press-snap together when you’re done. I used 40% infill for the thinner valve portion, 20% for the main body.
The STLs are here:
main body
inlet valve (top)
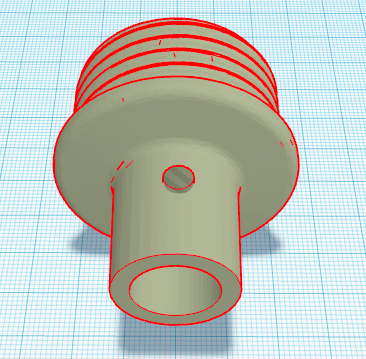
This is used in my poppers machine, as it has a 4.9mm hole in the side as the injection port.
Bit of a niche one this, but as the company no longer exists, if you’ve broken yours these may help you out.
Although I have now received the belt back, I am reinstating this post because I have heard from several others with similar stories so I am concerned my experience was not a one off.
I want to be clear upfront about the purpose of writing this up here, and that is to document the extraordinary number of attempts to resolve this issue in private. I fully and absolutely understand the challenges the last year has brought, particularly to small manufacturers. If I were told that this repair was going to have taken a year, I still would have done it, but after many emails and twitter messages I felt forced into going public.
With the pre-amble out the way then, what’s the problem? In 2020, after a couple of years at trying to get in touch with Carrara, I managed to get an online appointment with them to arrange an adjustment to the size of my belt.
What follows is a record of all my interactions since then trying to get it back.
26/5/2020 – Initial online chat and measuring, I am told it is not very complicated and will “only take a few days”.
5/6/2020 – Belt arrives in Austria
7/7/2020 – Gentle enquiry as to progress, told need to order some material for the hinges.
10/8/2020 – Follow up again, told the workshop needed a new floor and to reinstall the welder. My belt will be “the first thing done”
18/9/2020 – “Belt was finished yesterday”, just needs the welding ground back and a new liner.
4/11/2020 – “Forgot all about it” “the parcel is still in the office”.
10/12/2020 – “Had to buy a new welding machine”
4/1/2021 – Chased via Twitter DM, no reply.
14/1/2021 – Chased via Twitter DM, no reply.
19/1/2021 – Chased via email, “have had flu”
31/3/2021 – Chased via email, no reply.
12/4/2021 – Chased via email: has been ill, will ship this week! Lots of apologies.
27/4/2021 – Chased via email, no reply
22/5/2021 – I publish this post
22/5/2021 – Twitter reply saying it will ‘ship this week’
4//6/2021 – I tweet ‘still nothing’
22/6/2021 – I get an email saying it has shipped with a tracking number
2/7/2021 – The tracking number shows the postal service is still waiting for the parcel from the sender, I chase.
10/7/2021 – I chase again, I’m told they will follow up with the post office on the 12th
20/7/2021 – Belt finally arrives!